IF YOU'RE READING THIS...
THIS POST IS IN-PROGRESS!!!!
SORRY FOR GAPS, NONSENSE AND WEIRDNESS BUT MISSING INFO WILL BE FILLED IN, LINKS WILL BE ADDED AND MORE PHOTOS WILL SHOW UP SOON!!!!!!!!!!!!!!!
-----------
-----------
-----------
Well, it's been quite a while since I made a post. We had a vacation in March and have been busy catching up on things since our return. I've got more than a few things to cover with the protocol build but this post is about this....

A few weeks back I was informed about a Star Wars themed art show. I wanted to get involved but had somewhat limited time so I mimicked a project I did about 12 years ago with stormtroooper parts but this time with Threepio.
Back in February, I made a copy of the tk409 chest to use for experiments with the 3d printed parts I'm (slowly) working on. (will post images of those soon) The plan is to be able to test-fit the printed parts without completely halting progress on my actual suit (completion goal, Celebration VI).
There was never intent for anyone else to see this piece but being that I haven't had a chance to finish the 3d parts yet and had a chest sitting here I decided to put it to some use.
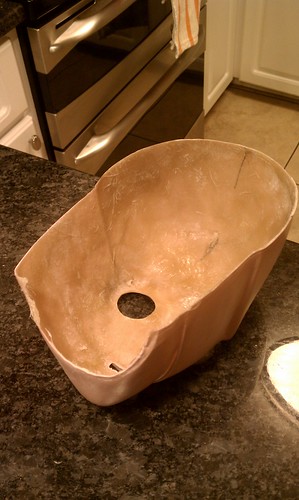
Since the part was made so quickly, the mold has LOTS of problems that needed to be fixed before I could do any painting.
(BTW, This chest piece was made ONLY for my personal reference. Please don't contact me for any suit parts. If you are interested look at the C3PO Builders Group to get all the info you need on who sells what and how to contact them.)

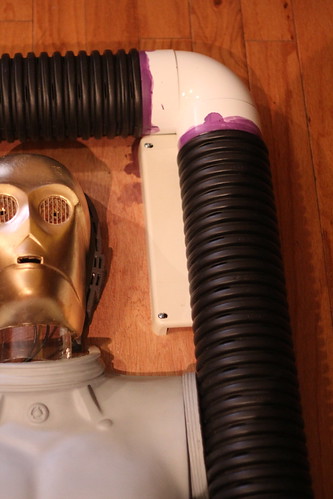
Also the neck didn't go all the way around so I had to make some parts to connect the gaps


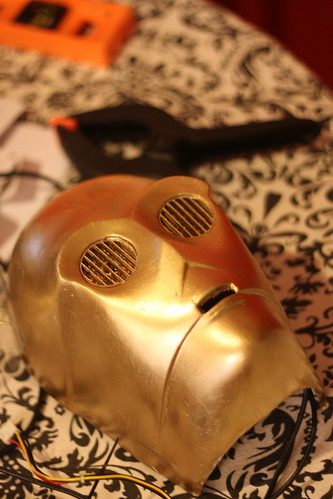
Now I needed a face so I contacted a maker to see if he had any vacuformed faces that had flaws. He did, and gave me a great price so now I was in business...

The detail in the vacuformed face is a little soft. I planned on doing some sanding and rework to bring out the detail (similar to
this) but I found out the piece needed to be dropped off to show 6 days earlier than I expected. Suddenly I'm in even more of a hurry...
The inside of the vacuformed face has a bit sharper detail so I decided to see if it was possible to pull a copy from the inside.


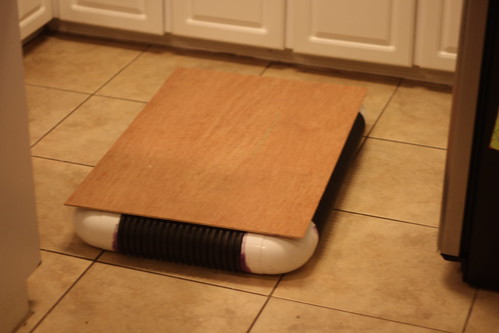
I started trying to figure out how to mount it that looked somewhat star wars-esque but would be quick to assemble and relatively inexpensive. I started by getting a board with the dimensions I proposed for the project.


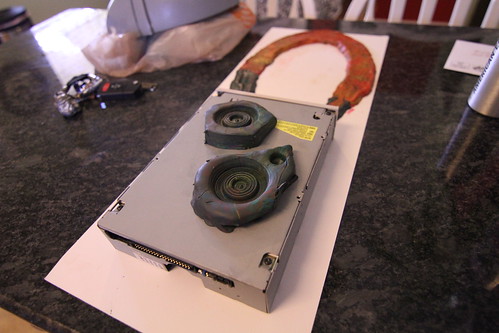
After the layout was settled it was time to look for more parts.


Resin parts


GOLD!

 Multitasking...
While paint and resin dry in one place, it's time to work on other parts.
Multitasking...
While paint and resin dry in one place, it's time to work on other parts.
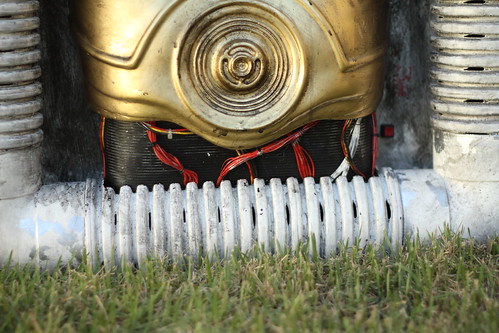
The belly wires seemed like a decent thing to fill time. I used some leftover ribbed rubber mat from my costume and to help keep the proper shape, a piece of eva foam left over from my Iron Man "WarMachine" build.The wires are from various old computer power supplies, plastic craft sting and rubber wire housing that I picked up at Skycraft 25' for $1. I ziptied them into bundles and using black thread and a needle I fastened them down to the belly.


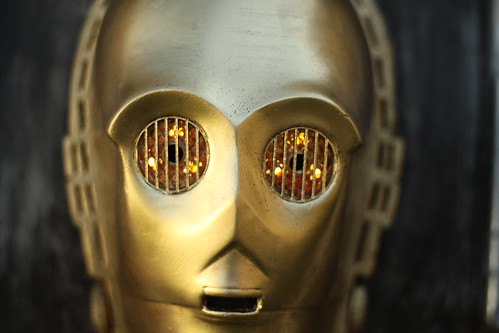
The eyes...


 Greeblie bits...
Chest pistons


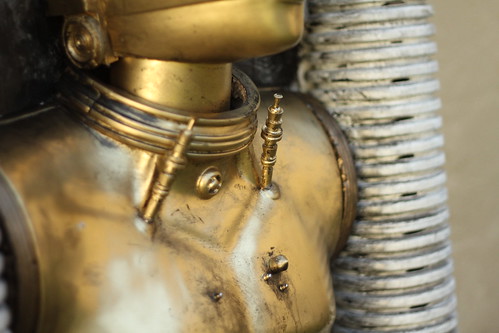
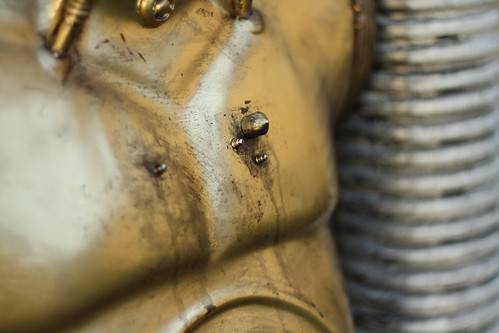
Chest detail... things...


Getting ready to add weathering.


MORE TO COME>>>>>>>