
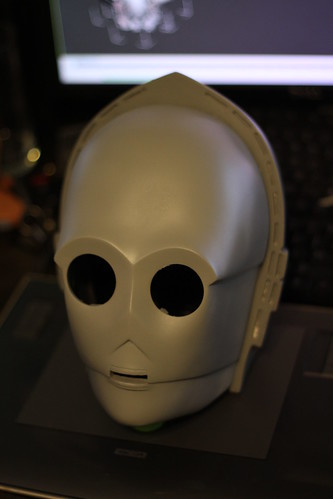
Getting down to the details. After looking at hundreds of reference photos I've found a few areas that need a little tweaking.
I'm not sure of the lineage of the molds this mask was made from but there are some tell tale signs that it is related to an original prop, like some subtle asymmetrical aspects that are a perfect match to some of the screen used masks, but it's possibly a few generations removed from an original, maybe from a don post statue or another existing replica... who knows. Anyway, some of the more fine details have become soft compared to the screen used props.
I've decided to remedy that...
Here are some of the spots I'm looking at fixing...
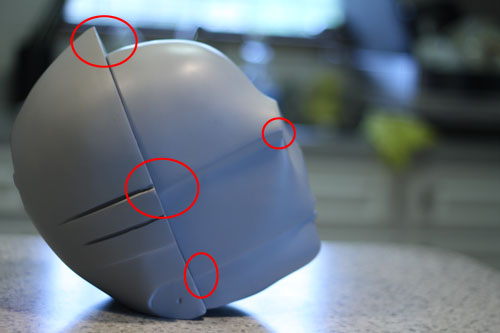
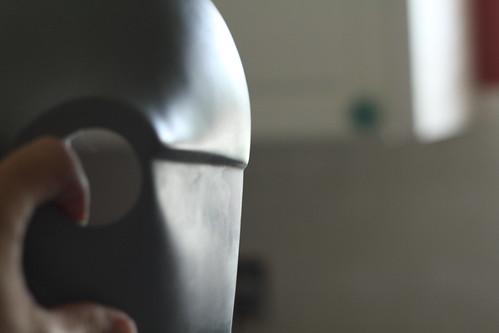
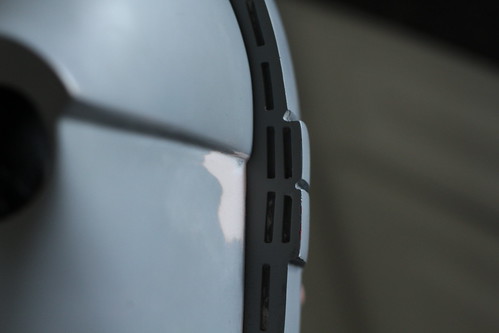
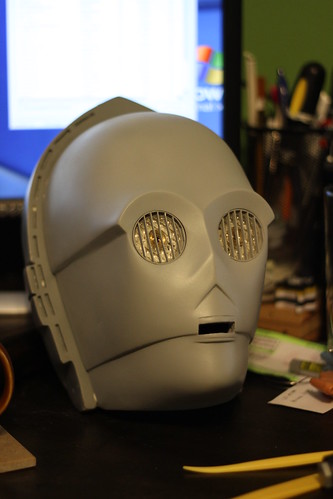
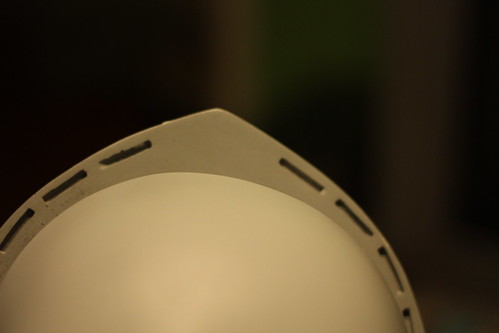
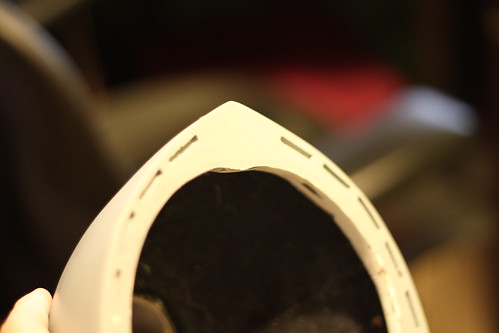
This is generally what the detail looked like before where the two halves of the mask meet. |
I used a small piece of wood trim cut to about 3 inches long and hotglued sandpaper tightly around it's edge.
This gave me a really great way to sand while keeping my lines perfectly straight. The hot glue kept the sandpaper from shifting around on the makeshift sanding block.
Some photos during the processs
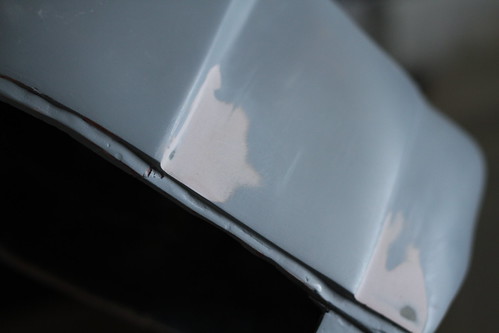

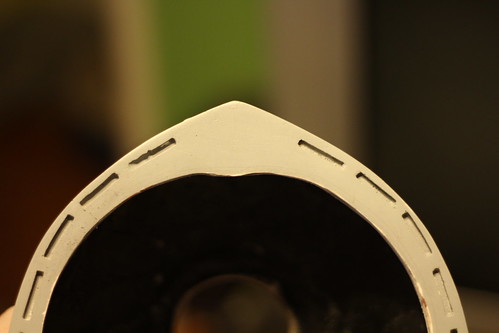
After..


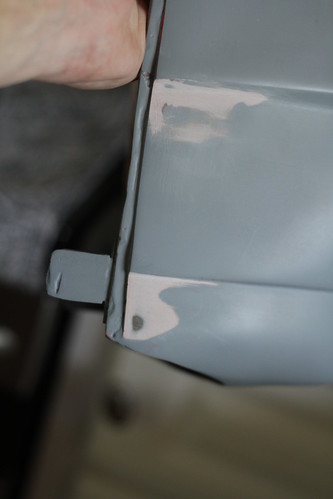

I've sanded down the excess and re-primed the face. It's starting to look better but I still want to sharpen the edge where the upper horizontal line on the sides of the face meets the back of the helmet, and the right eyebrow (3po's right...) which will mean adding some material. The eye isn't easy to tell in photos and 99.9% of people would never notice but I can't stop looking at it so it'll need to be fixed.
I was going to use bondo but I'm considering using some kneadable epoxy putty. I'm more comfortable sculpting with something more clay-like than bondo, which I always find to be really messy.
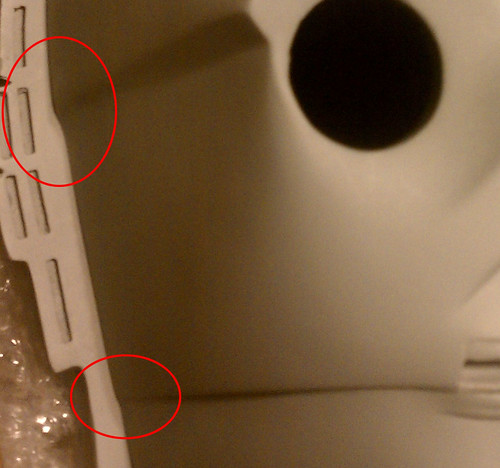
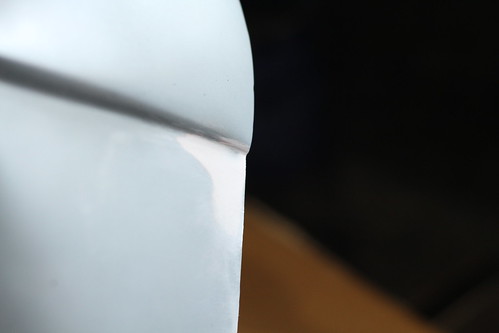
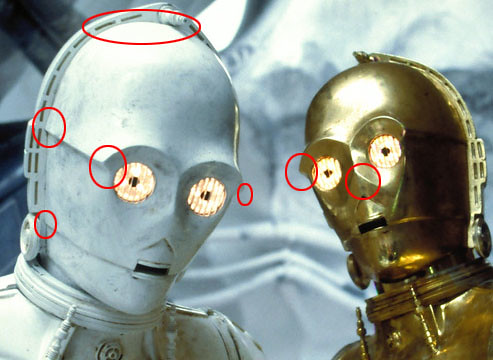
Here are some reference photos to explain what I mean.
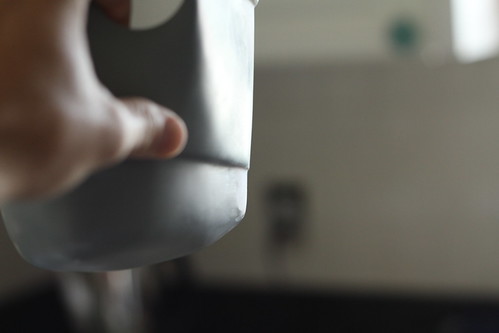
There's almost a small flare where the face meets the back on the upper horizontal detail (both sides) and the eyebrow comes down a bit further (which is only a problem on the right side of my mask.
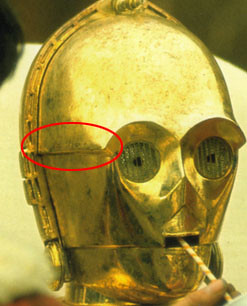
The brow and horizontal line are more straight and defined.
Upper nose detail is mildly sharper than on my mask. I may leave this alone, we'll see if I feel like getting brave.
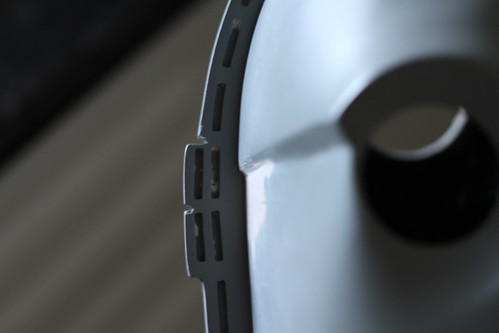
Next on the list of things to do is adjust the ridge along the top. right now the face seats lower than it should by about 1/2 in or so. I need to dremel out some material so it looks more accurate. I'll try to cover all these changes soon and show them in a future post.
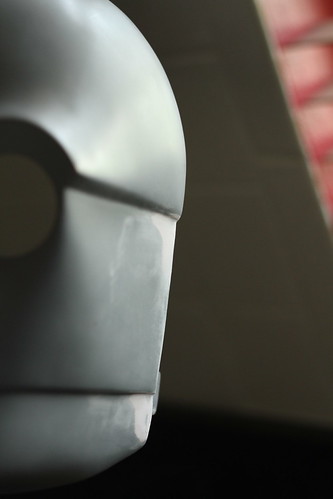
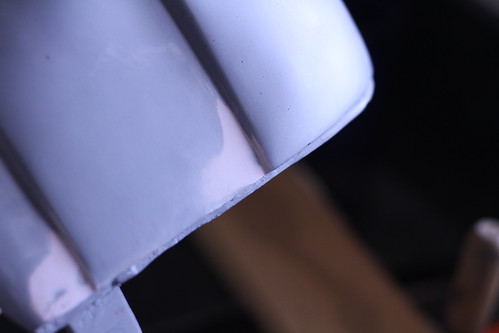
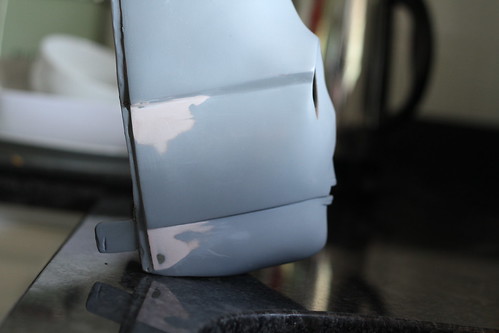
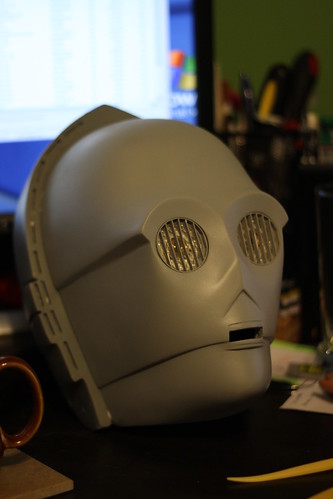
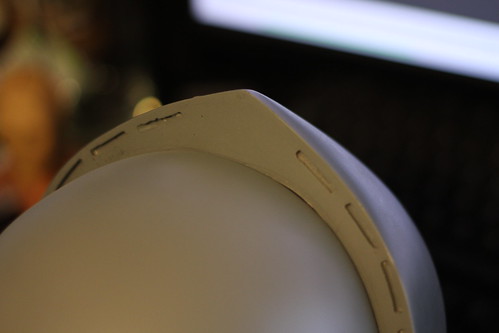
The photo below shows the overly high ridge along the top and is a good angle to show the slightly weak brow detail on the right side of the mask (left side of the photo)
Face seated too high...
It's hard to see in the photos below but I've marked a line where the cut will be. Just picked up a brand new dremel, much nicer than my old one. This will be it's first task!
No comments:
Post a Comment